As an Amazon Associate we earn from qualifying purchases.
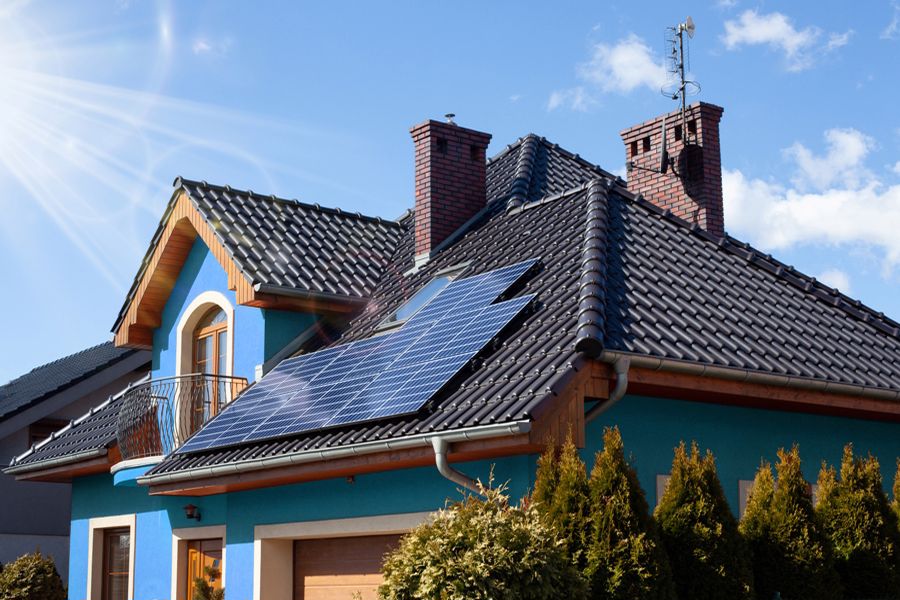
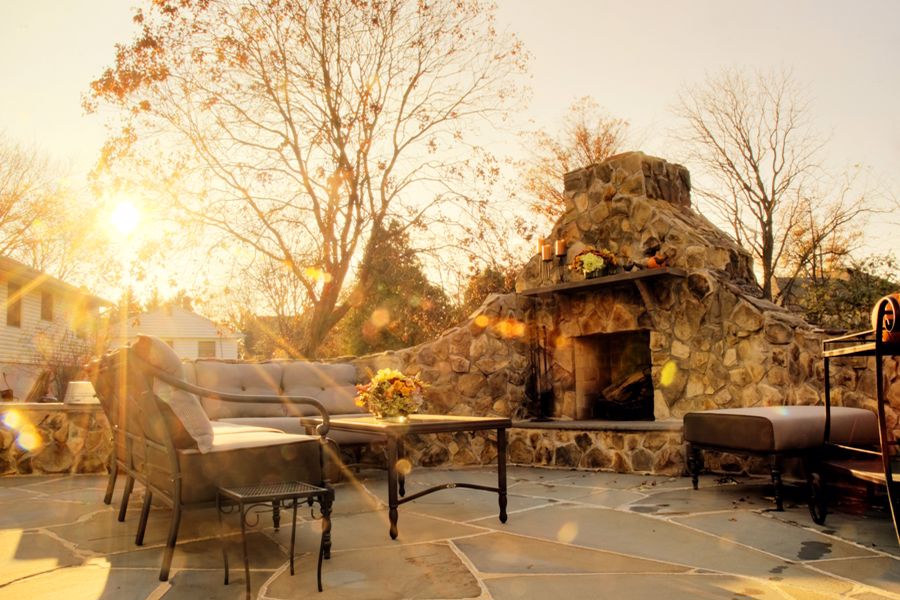
Sun rays help to add some creative effects to an image, making it aesthetically pleasing. Even with the most advanced camera, shooting real estate photos with sun rays can be challenging. However, knowing how to add sun rays in Photoshop can help you create similar aesthetic looks.
Regardless of your lens filters, shooting directly towards the sun's rays can damage your camera sensor. Fortunately, you can still get a similar sun rays effect if you know how to add sun rays in Photoshop. However, your photo needs bright areas that can act as the light source.

The first step when adding sun rays in Photoshop is selecting the bright areas in your photo. Although there are different ways you can use to select the bright areas, using the color range is more straightforward and precise.
With the selection still active, create a new layer. Click on layers to reveal the layers panel and select Layer, New, and then choose Layer. You can also use Ctrl + J in Windows or Command + J in Mac. In the options, specify the Layer's name and then hit OK. Typically, the new Layer will be automatically selected.
Before editing and blurring, convert the highlights into a smart object to allow you to make changes or adjust values later.

With the highlights selected, make several copies of the Layer by hitting Command + J in Mac or Ctrl + J in Windows PC. You can make your edits more non-destructive by grouping all the layers and making them smart objects.
You can highlight them all by selecting the first one, holding the shift key, and selecting the last one. Right-click and then choose Convert to Smart Object. Typically, you will be able to open all these layers on a new document by double-clicking the thumbnail.
Add some blur by navigating to Filter, Blur Gallery, and Field Blur. Typically, field blur will allow you to create different blur points. For instance, you can decrease the blur to zero pixels where you don't want it.
Usually, this will help you increase the blur on the rays as they get further from the sun. This effect makes the sun's rays look more realistic. After adjusting the blur, click OK to confirm.
Since you have a source of light acting as the sun, you need to adjust the blend mode to brighten the subjects in your photo. Simply change the blend mode of the highlights from normal to screen. This blending makes the brightness of the subjects look realistic under sun rays.
If you want to reduce some highlights to make the sun rays look more realistic, click on the mask button and then choose a large soft brush. Make black the foreground color of the brush by hitting X to toggle between the background and foreground.
Use the brush to get rid of highlights in some photo areas. However, it is advisable to reduce the flow to around 19% for more precise and realistic results.

Failing to add light spots on the ground makes the sun's rays look unrealistic. Create a new layer and then double-click to open the color picker foreground. Drag the color from the image into the color picker. Click OK to confirm and then start brushing.
When painting, you can increase the flow to around 30. After brushing, change the blend mode from normal to color dodge. Double-click the right-hand side to open the layer styles if the light spots brighten the dark spots too much.
Take the underlying Layer's slider from left to right in the blend mode If Section. Hold the Alt key and click on the slider to break it into two if the lighting is harsh. Adjust the triangles until the light spots seem well-balanced. Once satisfied with the quality of sun rays, click OK.
Yes, it is possible to reduce sunlight in Photoshop using the Brightness feature. You can use Adjustments of Shadows and Levels to make tonal adjustments. Simply navigate to Enhance, Adjust lighting, and then Brightness. Open an Adjustment layer and then use the sliders to adjust.
It is not safe to shoot directly into the sun, especially if your camera lens doesn't have a UV filter. Intense direct sunlight can easily ruin your camera sensor, and it's, therefore, advisable to point your camera towards the sun for only a few seconds. Use faster shutter speeds to limit exposure time.
You can add sun rays into your architectural and real estate photos to make them appealing while hiding certain parts of the background. Knowing how to add sun rays in Photoshop will save you the hassle of struggling to capture the sun rays with your camera.
