


Congratulations to Javier Sotomayor, November 2023 PFRE Photographer of the Month! The theme this month was "Open." Javier Sotomayor - Entry #879 Dave Koch - Entry #877 Peter Wingfield - Entry #874 Here's what Javier has to say: Hello First of all I wa ...


As an Amazon Associate we earn from qualifying purchases.
Photoshop isn't designed to be a vector design program, although there are ways to create paths. When drawing paths on real estate images, you must add strokes as references or outlines. For this guide, you're going to learn the different ways how to stroke a path in Photoshop.
Quick Navigation
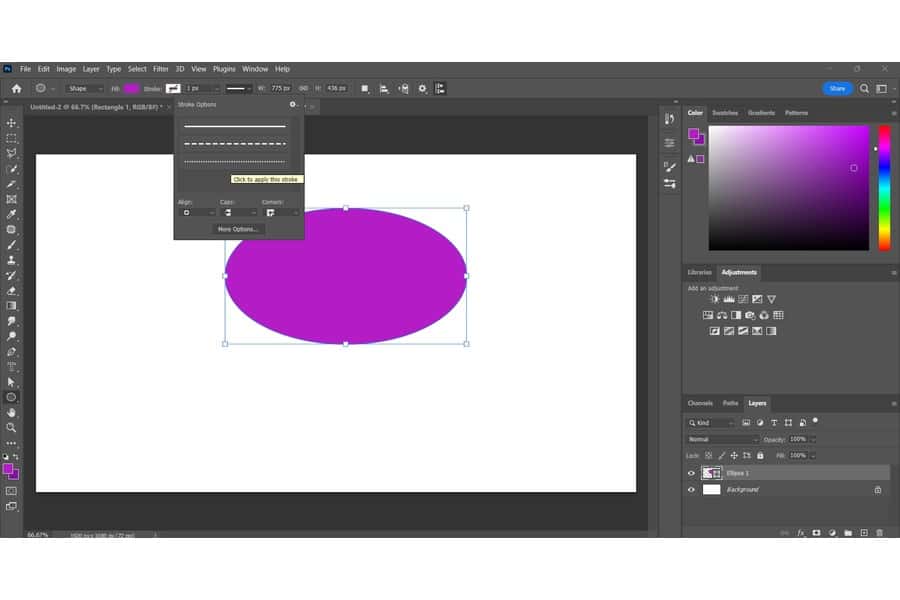
To stroke a path, right-click the path, then choose Stroke Path. From the Tool drop-down menu, you can pick either the Pen or Brush tool. Then, adjust the stroke properties in the Options bar depending on the kind of stroke you need.
Paths are valuable features that is easy to learn in Photoshop because you can use them to define a custom shape, mask an object, or get a precise selection. In addition, there are various ways to stroke paths, and you can apply adjustments to customize them.

A path mainly consists of single or multiple straight or curved segments. Follow these steps to stroke a single path in Photoshop.

Paths are perfect for working on irregular objects, and adding a stroke can help you fine-tune the edits better. They will let you add complex freehand shapes to your real estate photo edits, including drawings, icons, and symbols. Once you master the Pen tool, you can easily put a stroke on paths.

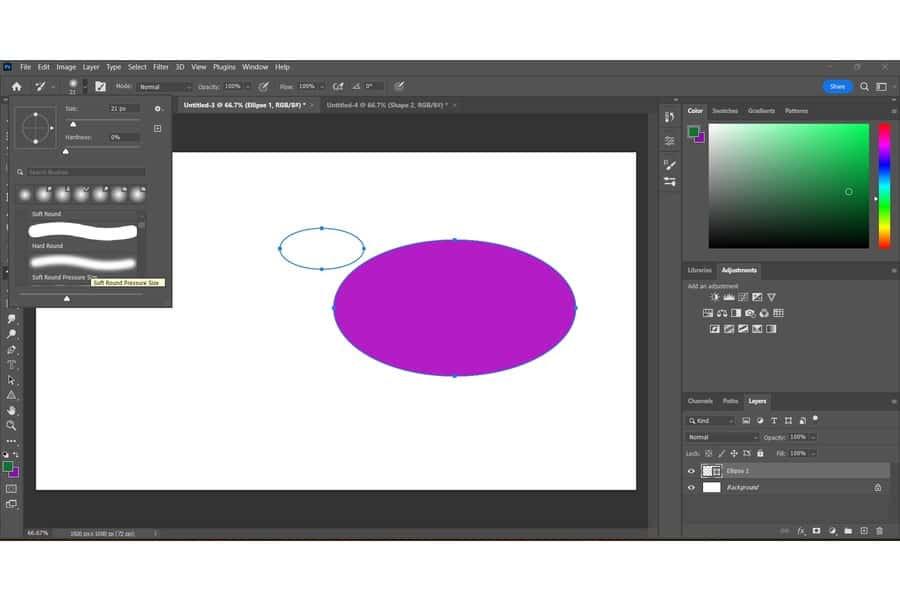
You can also use the Brush tool to create strokes for paths. However, you'll need to form a work path first.
Photoshop won't automatically generate work paths as part of a separate layer. Thus, you should also create a new layer to separate the new pixels from the background layer. Creating a new layer ensures you can edit components of your work without disturbing the other elements.
You don't have to make the paths individually to create multiple paths. Photoshop allows you to make paths and then add strokes at the same time.


The steps for stroking a shape path are quite similar to the methods mentioned above. However, Photoshop provides a separate layer for a shape path. It also assigns a Fill and Stroke color when creating a vector shape.

With these steps, you gain more control over the appearance of the shape's stroke.

When you go to the Stroke Path window and click on the Tool drop-down, you'll see various tools for stroking a path in Photoshop. Every tool will have a different effect, although the Pen and Brush tools are the best ones.
Aside from that, you may encounter instances where you need to adjust different settings before getting the correct stroke for a path.
The stroke's color will match the active background color while you're working on the path. With that said, you should choose the foreground color before you stroke the path if you prefer a certain color.

To do this, click the foreground icon to launch the Color Picker window. After that, select your preferred color for the stroke, and click OK to exit.

If you're struggling with using the Brush tool, you may need to fix the Simulate Pressure box. This box shows any brush with the appearance of various pressures applied. For instance, Hard Round and Soft Round Pressure brushes.
After adjusting the Brush tool settings for making the stroke, check the Simulate Pressure button to give variety to the stroke. Keep in mind that Brush tools are pixel-based. For this reason, you'll need to use other Photoshop editing tools to change the stroke's properties after applying it.
Brushes with simulated pressure will result in a heavier stroke in the center and thinner at the edges. Imagine that you're applying more pressure in the center.
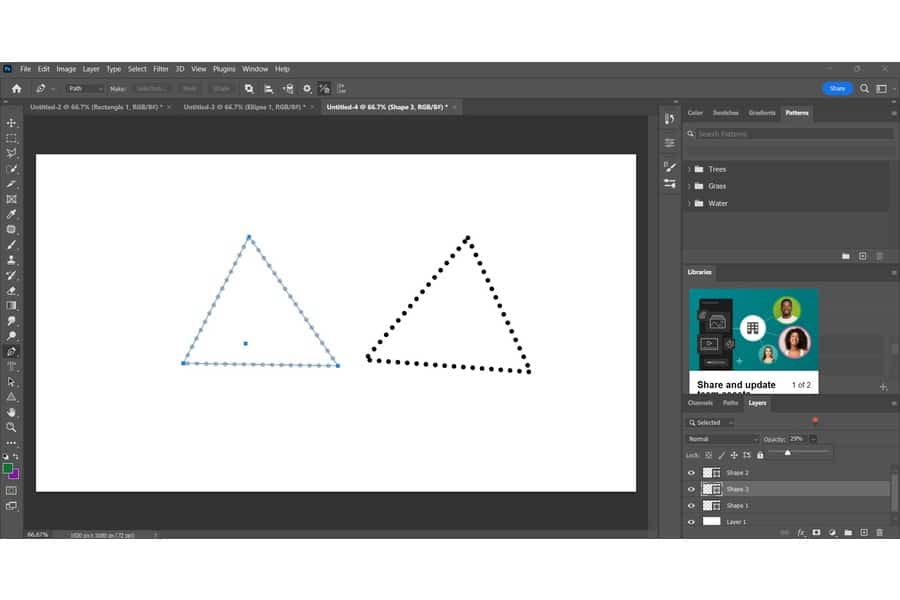
Press the A key to launch the Path Selection tool to transform, move, rotate, and resize your paths before applying a stroke. After clicking on the path you want to alter, drag the anchor points and handles to modify the path's shape.
Hold down the Shift key while clicking on the paths if you need to select multiple paths. Then, go to the Options bar to modify the path's alignment and distribution.

You can also fill the area enclosed by a path. To do this, press the A key to open the Path Selection tool. Next, select the path you want to fill with color, gradient, or pattern.
Head to the Paths panel, then click on the Fill Path button. From the dialog box, adjust the Mode, Opacity, and Blending options.
If you can't create strokes for a path, it's possible that you're using a white foreground or background color. Press the double arrows at the bottom left corner before stroking the paths again.
To reorder paths, go to the Paths panel, and simply drag the path to your desired position. The good thing is that you can reorder saved paths that are not Vector Mask, Type, or Shape.
To duplicate paths, go to the Paths panel, and choose the path you wish to duplicate. If you need to copy multiple paths, press Alt/Option key while dragging the paths.
You can use the Pen and Brush tools to stroke a path in Photoshop. Whether you need a single path, multiple paths, or a shape path, you can adjust the stroke's settings to control your selections better. With these techniques, you'll have more precise editing in your real estate photos.


