


Congratulations to Javier Sotomayor, November 2023 PFRE Photographer of the Month! The theme this month was "Open." Javier Sotomayor - Entry #879 Dave Koch - Entry #877 Peter Wingfield - Entry #874 Here's what Javier has to say: Hello First of all I wa ...


As an Amazon Associate we earn from qualifying purchases.
You might need to add text descriptions to draw the viewers to the subject featured in the real estate photo. Learning how to add shadows to text in Photoshop can help you create a sense of depth and dimensionality in the text, making it appear more three-dimensional and less flat.
Quick Navigation
Text can provide additional information about a real estates photo, such as location and date. Depending on the photo's background, adding shadows behind the text can contrast the text and the background, making it easier to read.
The following tips can help you add shadows to text in Photoshop, enhancing its readability and making it stand out more against the background.

A text layer is a type of layer in Photoshop that contains text elements, just like a Microsoft Word document. This allows you to format the text using various font styles, sizes, colors, and effects.
Select the Text tool from the toolbar on the left-hand side of the screen.
Click anywhere on the canvas if you are working with a new document, or click on the image if adding text to a photo. Enter the text you want to add in the Text tool’s options bar at the top of the screen and adjust the font type, size, and color.
Once done, press the Enter key or click the checkmark icon in the options bar to confirm the text. Usually, your new text layer will appear in the Layers panel on the right-hand side of the screen. You can adjust the layer’s position, opacity, and blending options using the settings in this panel.

Duplicating a layer allows you to change a separate copy of the original layer without affecting the original layer. This means you can experiment with different edits and revert to the original layer if needed. In the Layers panel, select the Text Layer you created.
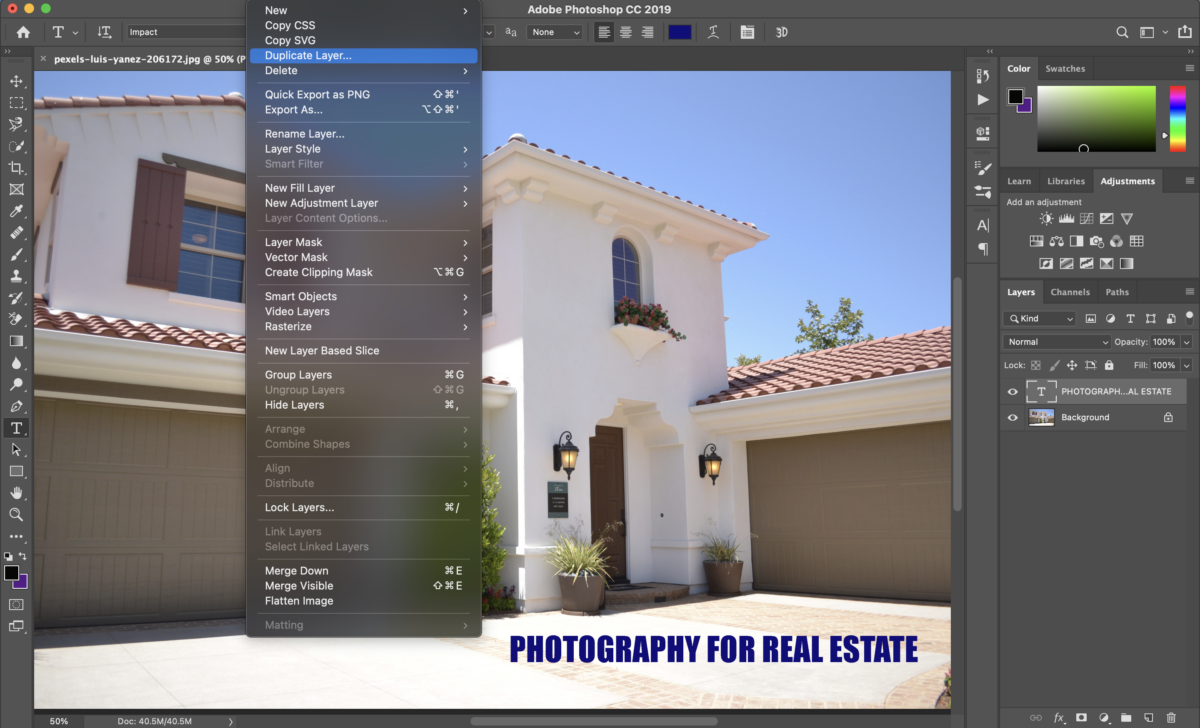
Go to the Layer menu at the top of the screen and select Duplicate Layer. Alternatively, you can right-click the layer and select Duplicate Layer from the context menu. Usually, the duplicate will appear directly above the original Text layer in the panel.
Another way to quickly duplicate the Text layer is to hold down the Alt key on Windows or the Option key on Mac while dragging the layer to a new position in the Layers panel. This will automatically create a copy of the layer in the new location.
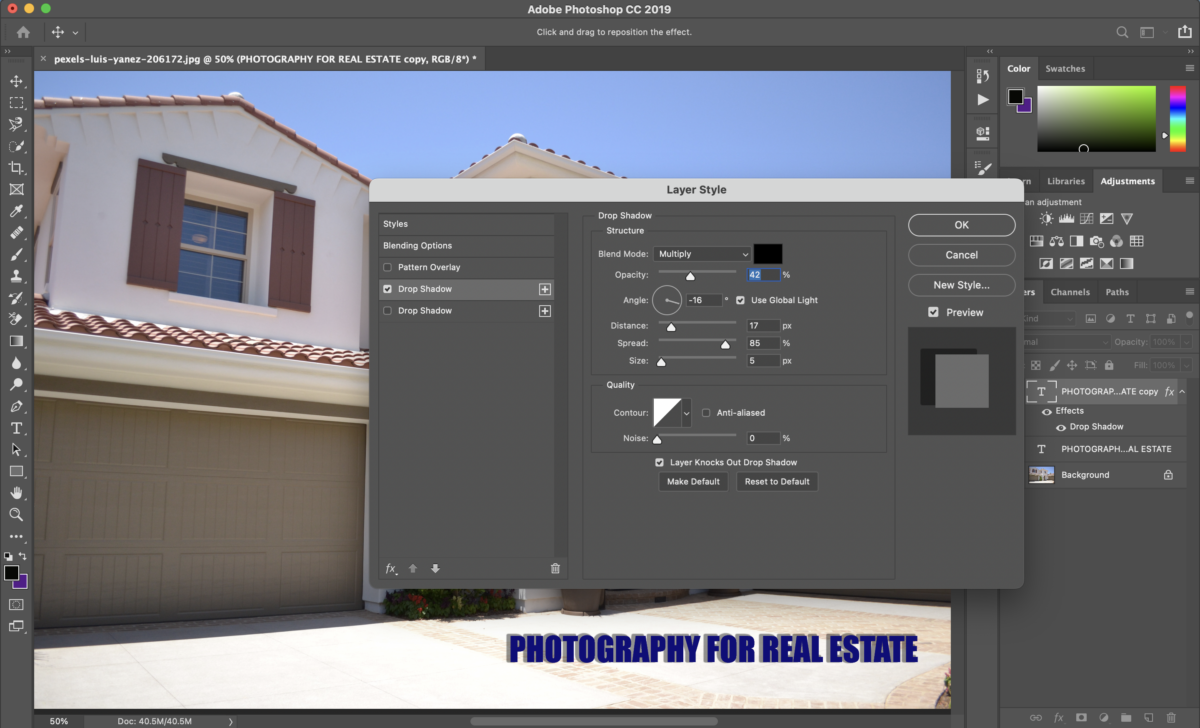
Layer effects are special effects you can use to add depth and dimension to your text. With the Text layer highlighted, click on the Layer Style button (fx) and click on Drop Shadow from the menu that appears.
Alternatively, you can add a shadow by going to Layer, choosing Layer Style, and then selecting Drop Shadow. You can then adjust the following settings to enhance the positioning and looks.
After making the adjustments, click OK to save the changes and exit the window. To export the Text Layer as a separate image, go to File, choose Export, and click on Export As.

Select the desired file format for the exported image, such as PNG or JPEG, choose a file name and location for the exported image, and finally, click Save.

If you want to add longer shadows, the drop shadow method above might not work. However, you can create long shadows by creating copies of the text layer and then adjusting their angles using the following steps.
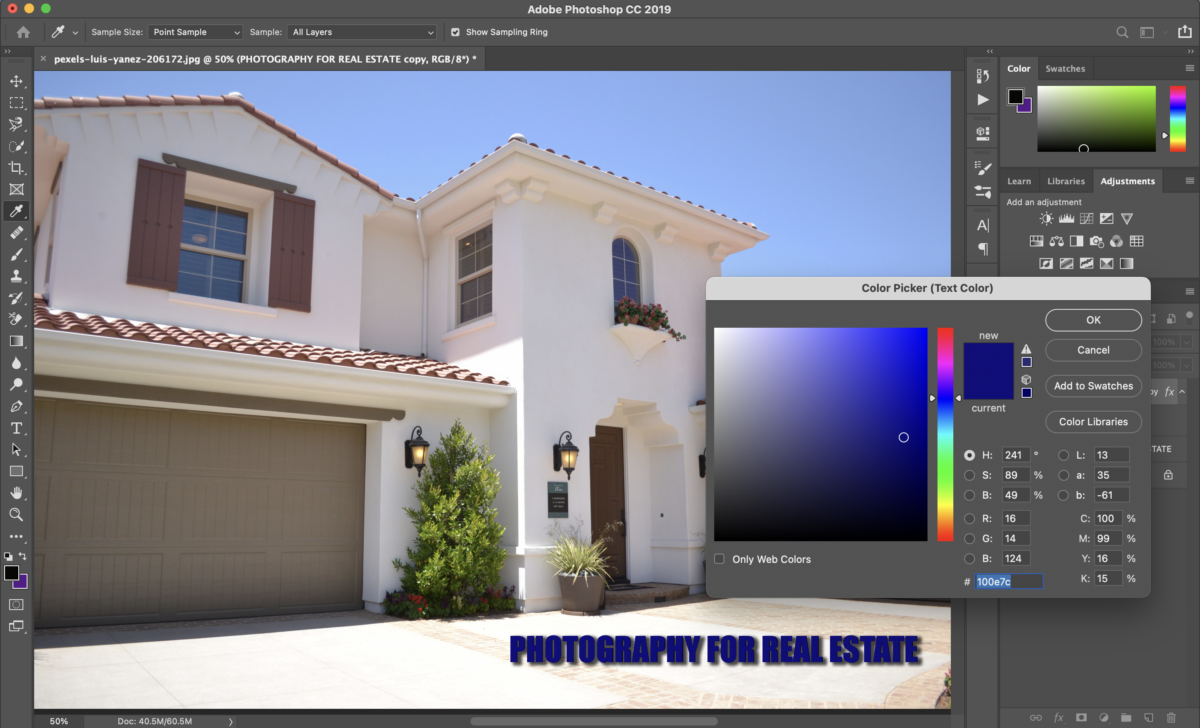
Create a duplicate layer using the above steps and change the color of the bottom text layer by clicking on the Text Color icon in the Properties Panel and choosing a color from the color picker window that appears.
If it’s an image, hold down the Command key on Mac or the Control key on Windows, and click on the layer thumbnail. This will convert the image into a selection, which you can fill with a solid color. Navigate to the toolbar, select the foreground color, and pick your preferred color from the palette.
Hit Alt + Delete on Windows or Option + Delete on Mac to apply the foreground color to the active selection. Then press Command + D on Mac or Control + D on Windows to deselect the image layer.
Highlight the underlying layer and press Command + T on Mac or Control + T on Windows to open the transform tool. In the rotation text box, enter the degrees you would like your long shadows to be transformed to, such as 30 degrees.
With the angled layer selected, press the V key on your keyboard to pick the Move tool, and then press and hold the Option + Up Arrow key on Mac or Alt + Up Arrow key on Windows to continuously duplicate the layer, up to around 100 times.

Click on the topmost layer, scroll down to the bottom layer, hold down the Shift key, and click on the bottom layer to highlight all of them. Press Control + E on a Windows PC or Command + E if you use a Mac to merge all the layers.
Hit Control + T on Windows or Command + T on Mac to open the transform tool, and then enter the negative of the initial angle entered. In this case, enter -30 degrees. This makes the shadow match your text or photo. You can also fine-tune the positioning using the Move tool.

Yes, you can remove shadows from a text in Photoshop by selecting the text layer and going to Layer Style, choosing Drop Shadow, and then unchecking the Drop Shadow box.
Yes, you can change the drop shadow color in Photoshop by opening the Drop Shadow dialog box, clicking on the color swatch, choosing a new color from the color picker, or using the eyedropper tool to sample a color from the image.
No, shadow on text is a visual effect that adds a shadow behind the text, giving the appearance of depth and dimensionality to the text. In contrast, a text outline is a feature that adds a border or strokes around the edges of the text.
Knowing how to add shadows to text in Photoshop can help make your text descriptions visually pleasing and more polished. Generally, you can add shadows using the drop shadow technique under the layer filters or manually by creating angled text layers.


