


Congratulations to Javier Sotomayor, November 2023 PFRE Photographer of the Month! The theme this month was "Open." Javier Sotomayor - Entry #879 Dave Koch - Entry #877 Peter Wingfield - Entry #874 Here's what Javier has to say: Hello First of all I wa ...


As an Amazon Associate we earn from qualifying purchases.
Real estate
Curves in
Quick Navigation
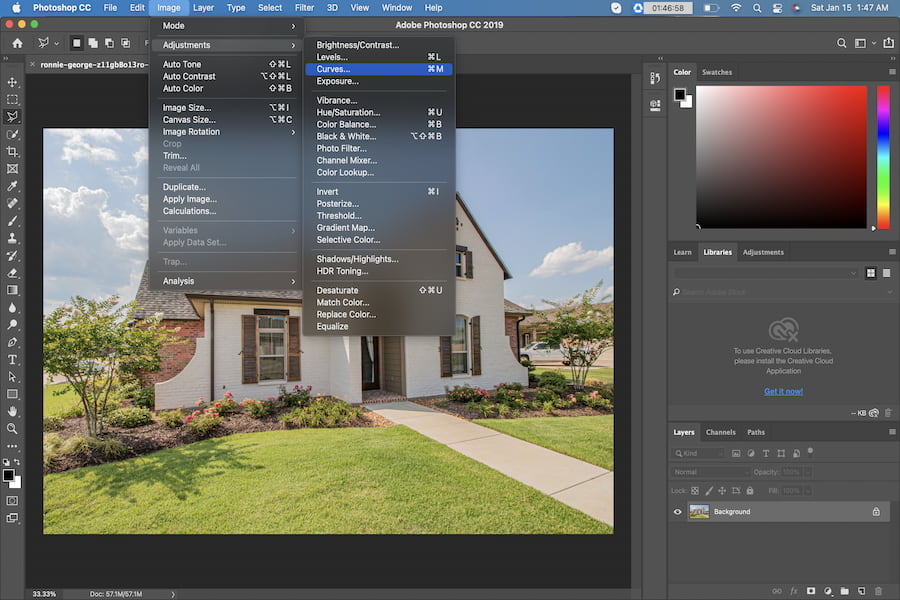
To use curves in Photoshop, you can go for two different methods:

The first method will require you to go to the menu, click on Image, select Adjustments, and choose Curves. The second method is the most used one, it allows you to use curves as an adjustment layer. The first method applies the curve to the image, thus making it a bit of a complicated way to edit the image. It does not allow you to modify it unless you have changed it into a smart object.
However, if you use curves as an adjustment layer, it is faster and is non-destructive. You can also change the values or you can even delete the whole layer without changing anything on the original image. You can also add Curves Adjustment layer by clicking on the new fill or the adjustments icon in your layers panel, or you can click on the curves tool if the Adjustments tab is open.
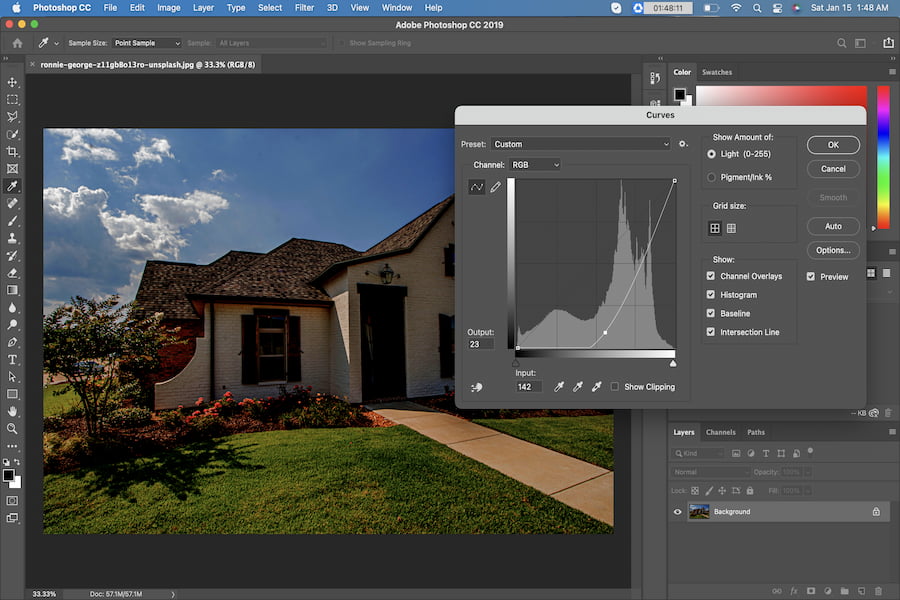
As soon as you’ve created a curves adjustment layer, you will be able to view the properties window. The window has two different bars:
The slanting line that you see across the window represents the luminosity values. One bar represents the X-axis while the other bar represents the Y-axis. In the A-axis, the left corresponds to black while the right corresponds to white with shades of grey in between. The X-axis represents the input pixels while the Y-axis represents the output pixels.
When you get a “U” shaped curve, the picture will appear darker. When you get an “N” curve, the picture will appear brighter. Instead of choosing just one point on the curve, you can choose any number of points and make the needed adjustment.
If you need to add contrast, you can make the brights brighter and the darks darker. In order to do that, you can choose a point on the highlights and drag it up. This will increase the pixels and this will make it brighter. On the other side, you can choose a pixel on the shadows and drag it down to make the darks darker. The result of this will be an “S” curve.
Below are some points that you must take note of when using curves”

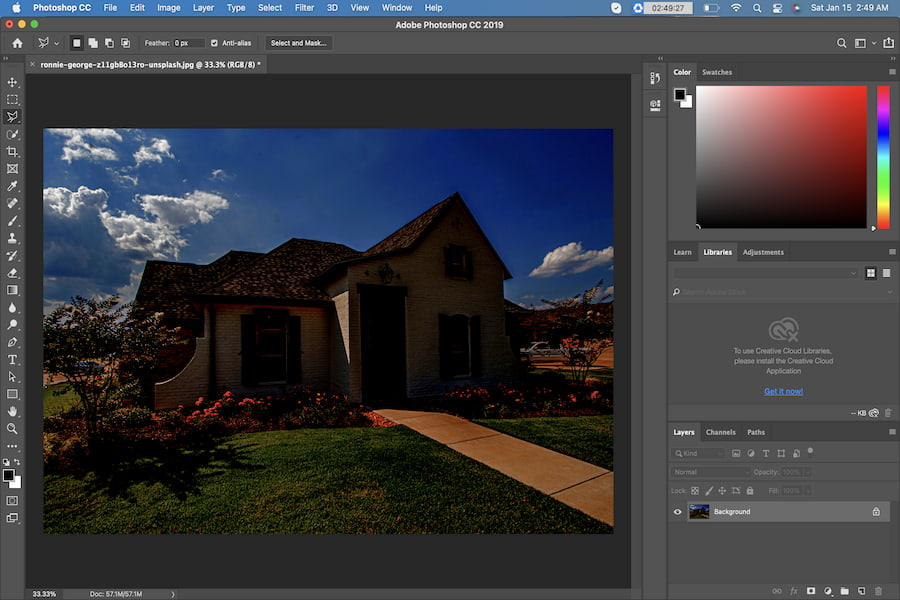
If you end up with pictures that have a narrow dynamic range, especially if you took them under a soft light, they end up looking flat. In cases like this, the curves tool can help pull out the best possible dynamic range of the image without clipping the highlights or the shadows.
To adjust the dynamic range, review the two sliders on the X-axis on the curves tool. Next, press the Alt/Option button on the bright slider and slowly drag it until you see the clipping. Similarly, drag the darks slider and move it towards the right until you see clipping. You need to check the histogram to see if it has moved and if the bars have widened. If it did, the dynamic range has increased and depth has been added.
Sometimes, it becomes difficult to guess where the highlights, shadows, and midtones are. There are instances that you may think a tone is in the shadows. However, in reality, it is placed as a midtone. In some cases, you might not be able to pinpoint the exact area where the brightest spot in the photo lies. That is where Photoshop's hand picker tool comes in handy.

Using this tool, you can click on a sample directly on the photo instead of guessing the exact area that it has on histogram. Choose the sample picker tool that is marked in green and slowly hover it over the picture and click to choose a spot on the photo and the value gets marked in the histogram. You can drag it up or you drag it down, you can also drag it on the curves adjustment to get the desired contrast.
Curves is one of the most useful tools and the most versatile ones in Photoshop as it helps you change the contrast control of your image to the advanced level. By adjusting the endpoints of your image, you can change the global or overall contrast of it.


