


Congratulations to Javier Sotomayor, November 2023 PFRE Photographer of the Month! The theme this month was "Open." Javier Sotomayor - Entry #879 Dave Koch - Entry #877 Peter Wingfield - Entry #874 Here's what Javier has to say: Hello First of all I wa ...


As an Amazon Associate we earn from qualifying purchases.
Lightroom is undoubtedly an incredible software to organize your photos. Through its flagging feature, you can pick your favorite photos and rate or label them to narrow down your selection even more. Learning how to flag photos in Lightroom will ease the process of sorting through hundreds of photos quickly.
Quick Navigation
Usually, I capture more images than I need, planning to pick the best shot among them later in the post-production phase in Lightroom. It is then when I feel the need for features that could accelerate the selection process so that I can quickly begin with editing or exporting the selected images.
Here’s where quick ways to flag photos come in handy. You can pick or reject photos by flagging them, search by filtering them easily, and narrow down your selection by removing the rejected photos from Lightroom.

Although Lightroom gives you the option to use flags, ratings, and color labeling on photos as you prefer, it is always a good practice to flag and add attributes to your photos. Not only this will help to save time while you singling out photos to use, but it will also help you filter the best ones in the collection.
You can flag your photos both in the Library or the Develop module.
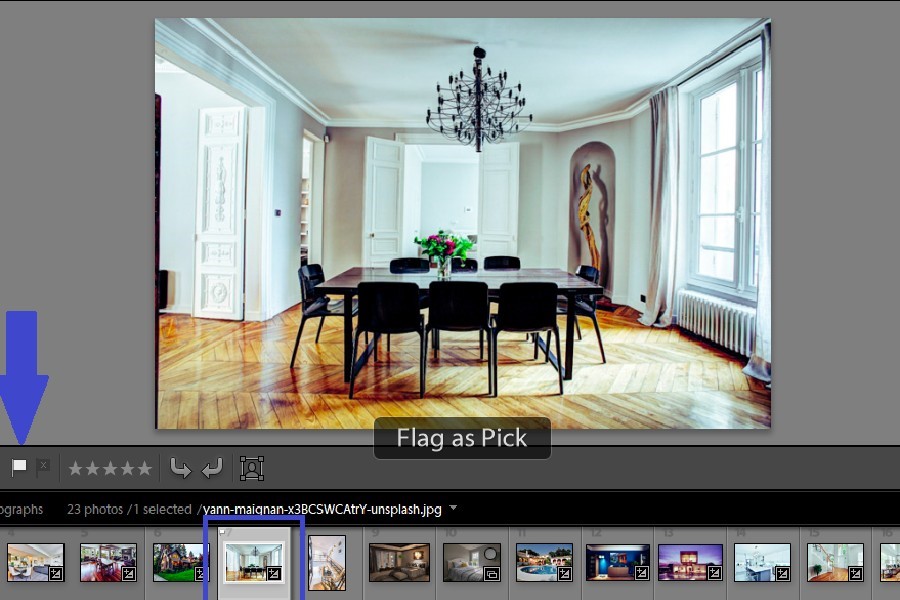
The Loupe view lets you get the full view of the image, giving you an opportunity to analyze the image properly before flagging it. You can navigate to the next image by using the right and left arrow keys. You can also select an image from the filmstrip view at the bottom.
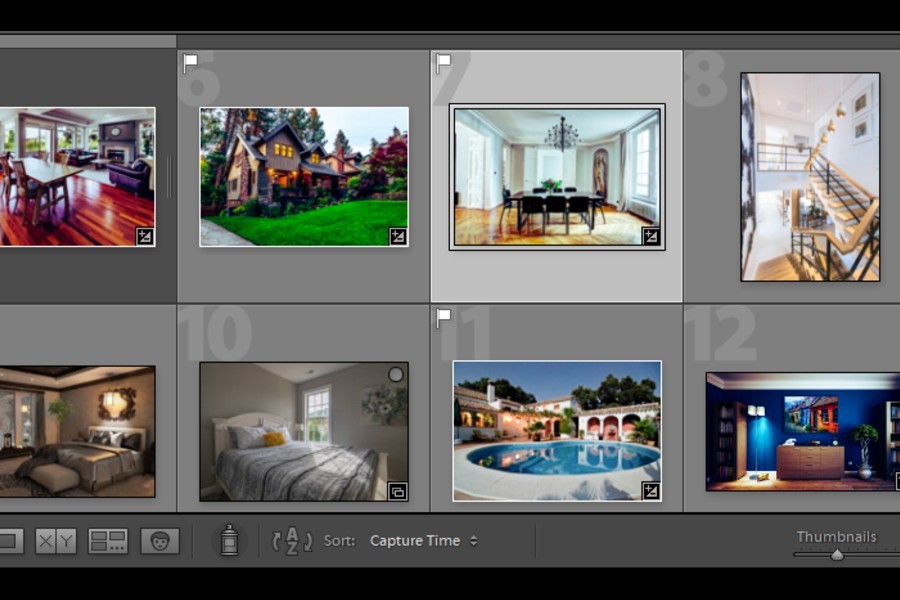
As soon as you flag the photo, you will see a small white flag appear on the thumbnail as well as on the image.
In Lightroom’s Grid view, the thumbnails of all the imported photos are present in a tiled view. Selecting photos in this view is easy and highly recommended when you need to choose just a few photos from a large collection.
You can increase or decrease the thumbnail size for a clearer view by pressing + or - keys, respectively. You can then go on to flag the photos using P.
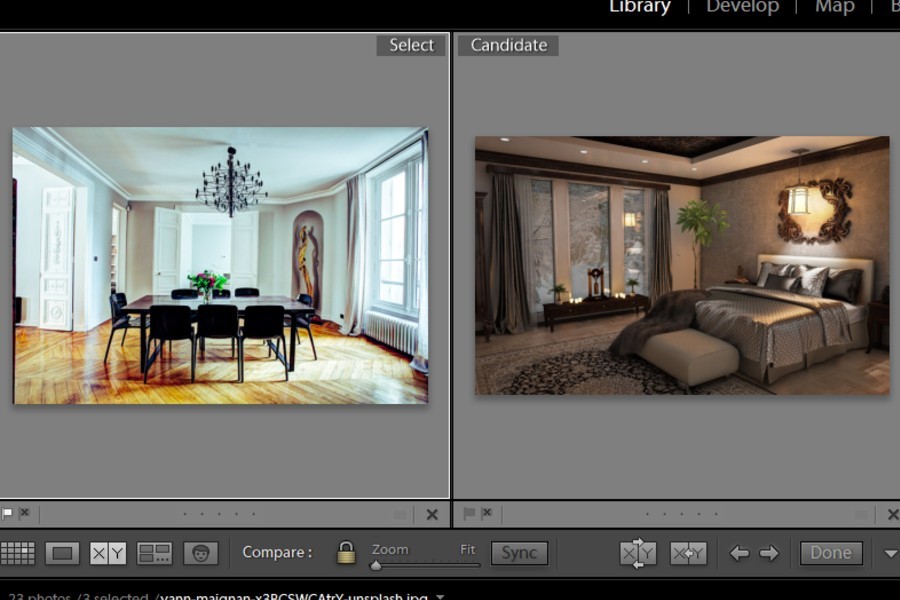
You can view two photos side by side using the Compare view. You can access this by pressing the XY button right beside the Loupe view or just press the C key. The image present on the left-hand side will be the Select image, whereas the one on the right is your Candidate image.
In the filmstrip below, your selected image will have a white diamond on it, while the candidate image will have a black icon. You can also zoom in on your images in the Compare mode to decide which one is better. Press P to flag the selected photo.
The survey view is a highly useful feature in Lightroom. You can select a group of images from the Grid view and press the N key to open the Survey mode. The icon for survey view is present right beside the Compare view icon.
Once the images are in the survey view, you can compare them, change their sequence, or flag the chosen ones. You can remove any of these photos from the selection by pressing the X icon on the bottom right of the image.

A handy tip worth mentioning here is to turn on the Auto-Advance option by going to Photos and clicking on Auto Advance. The other way to activate auto-advance is to turn on the Caps Lock on your keyboard. It will then automatically move on to the next image after you flag one image.
If you accidentally flag an unwanted photo, you can press U to unflag it. Or, you can go to Photos > Set Flag and click on Unflag.
The same ways that I have described above for flagging a photo as Picked can be used to flag a photo as Rejected. The keyboard shortcut for reject is X. Flagging the photo as reject will show a black flag on its thumbnail.
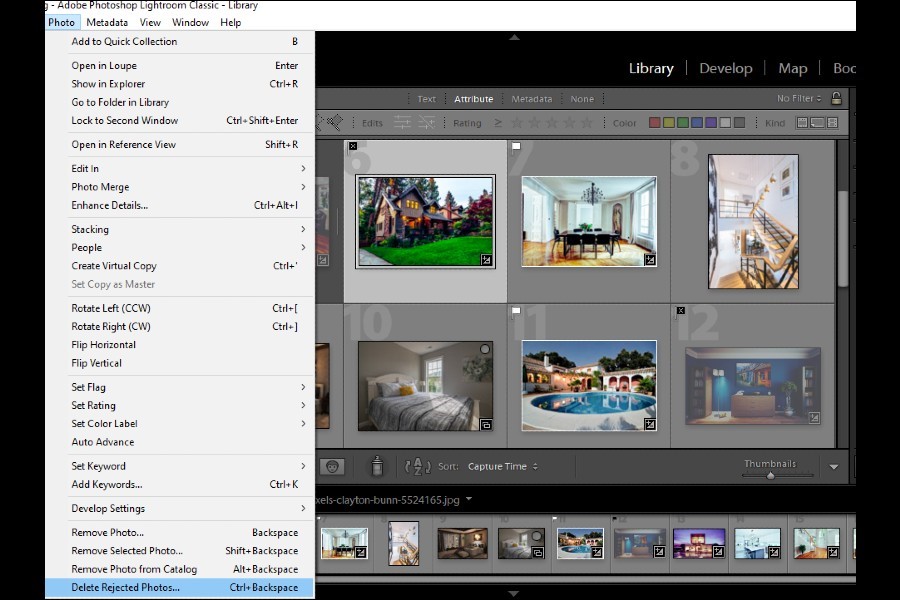
The reject flag is useful in the selection process as it can be used to remove photos and clean up your catalog. There are two ways you can use this feature to delete photos.
After flagging the rejected photos, I recommend you go through them once to avoid deleting a useful photo.
After that, you can navigate to the Photo menu and select Delete Rejected Photos. Lightroom will show a dialog box asking whether you want to remove them from Lightroom or from your Deletdisk. Choose the desired option to get rid of these unwanted photos.
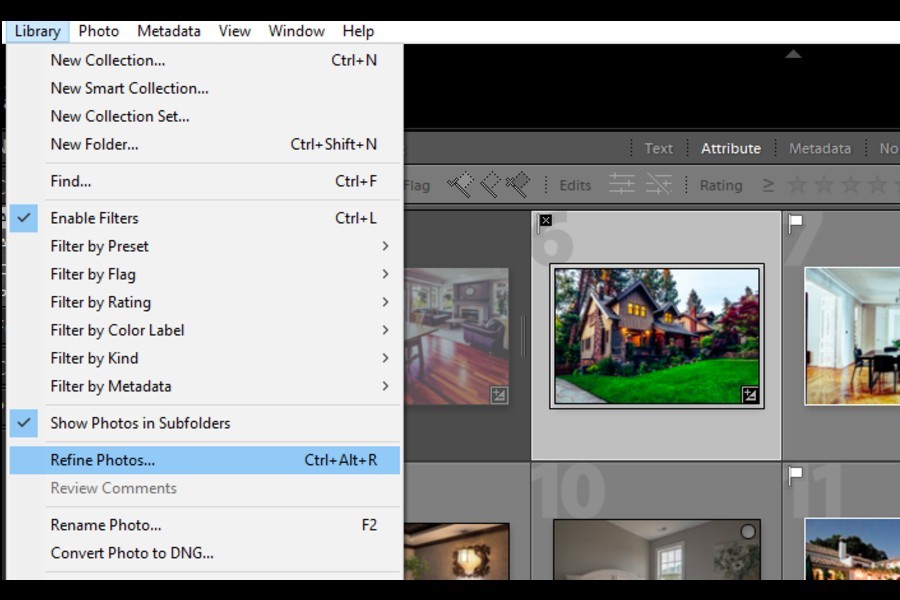
Another way flagging helps you to streamline your catalog is by the Refine Photos option. This option is useful if you want to keep only a few photos from a large collection. To use this option, you firstly need to flag the best photos as picked in the Grid view.
After that, go to the Library menu and select Refine Photos. Doing so will mark the rest of the photos as rejected. Now delete the rejected photos in a similar way as explained above. You will be left with the best photos in the catalog.
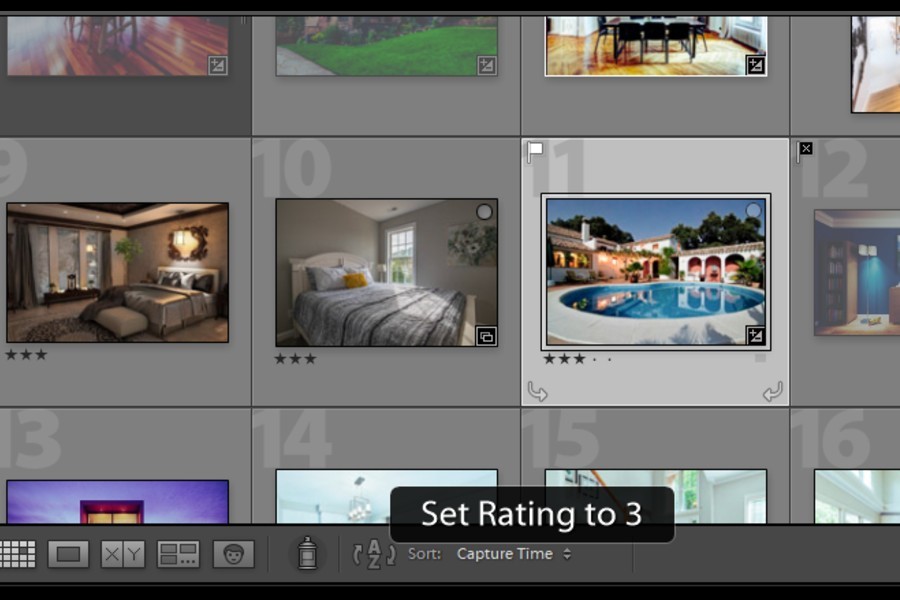
Once you are done using the flagging feature for selecting the photos you want to keep and removing the rest, you can give a star rating to your photos to remind yourself of any particular action or type of editing you need to do for them.
For instance, you can rate 1 star to a photo by pressing 1 on the keyboard or clicking on one star on the thumbnail to sort the ones that need exposure editing. Similarly, you can use the numeric keys 2, 3, 4, and 5 to give star ratings to the images.
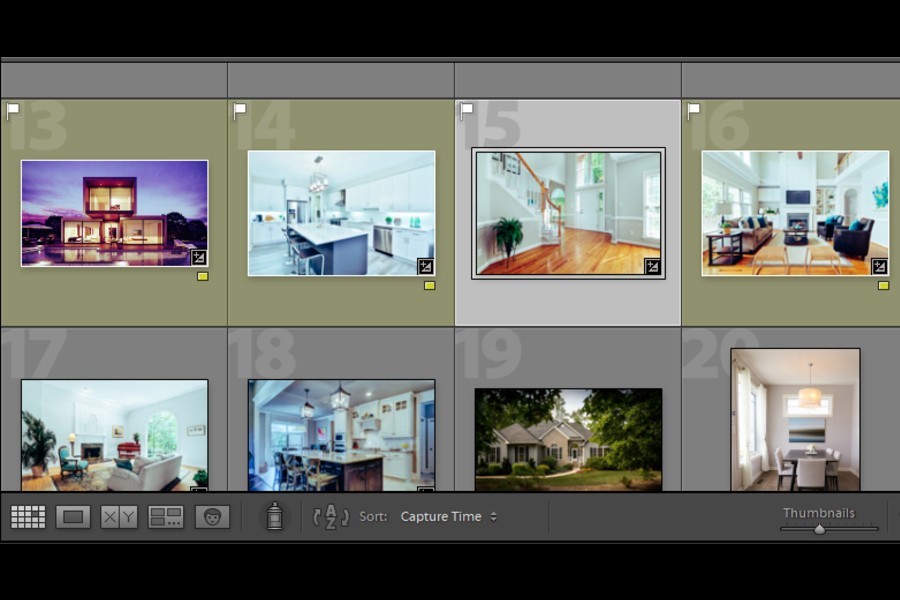
You can further categorize your photos using color labels. Lightroom gives me an option of five color labels to ease the photo organization and distinction process. The keyboard shortcuts for color labels are 6, 7, 8, and 9 for Red, Yellow, Green, and Blue respectively.
The painter tool, accessible in the view icons below the grid view, is a handy tool in flagging, rating, or color labeling your images. Just click on the tool, or click CMD+Option+K (on Mac) and CTRL+ALT+K (on Windows).

Next, select the option of any attribute that you want to give the images. For instance, if you choose flagged, any image that you click on in the grid will be flagged as a pick. This is a really quick way to curate multiple photos.
From the Filter menu given above in the Library module, click on Attributes. Here you will have options to filter your photos based on flags, star ratings, or labels.
The option to flag photos is a great way to maintain a clean and organized Lightroom catalog. I highly suggest you implement flagging to improve your post-production workflow and speed up the overall editing process.


